


No products in the cart.
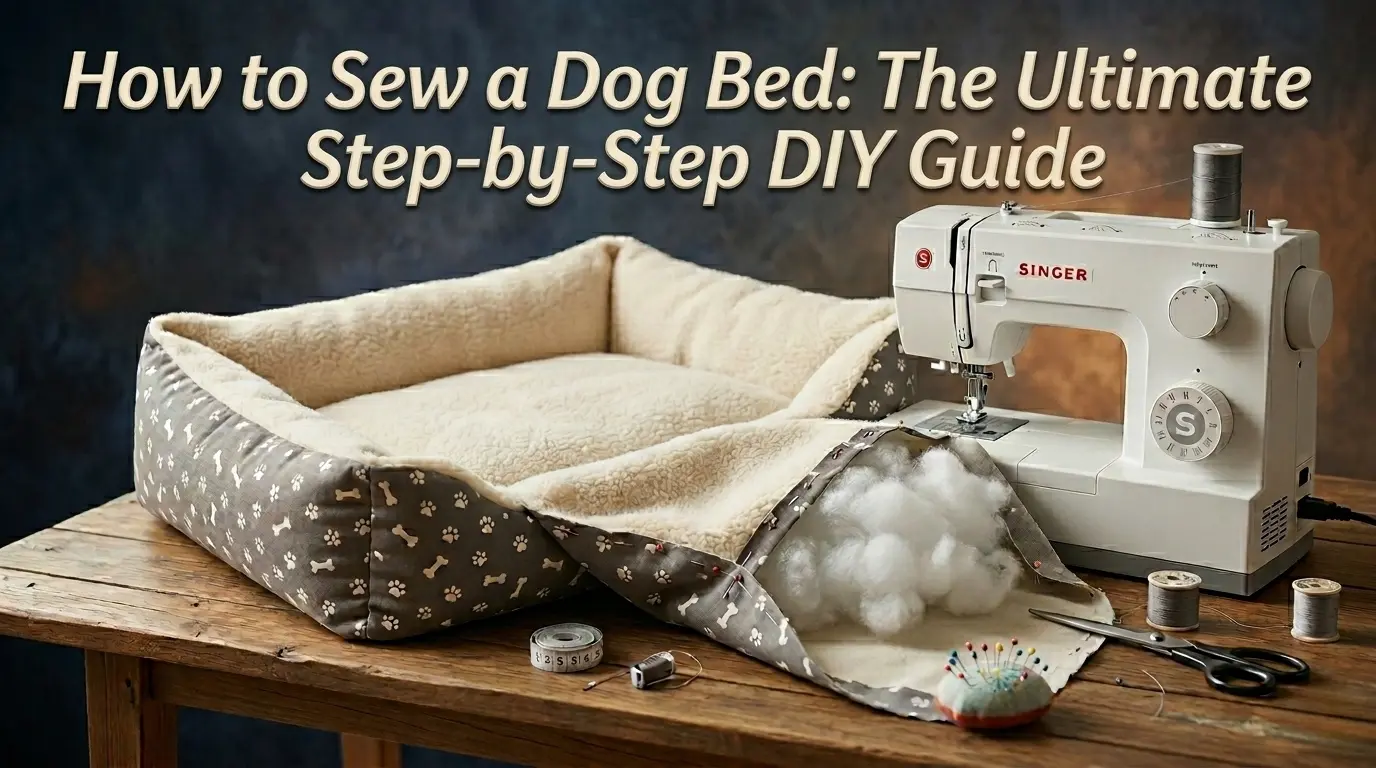
How to Sew a Dog Bed: The Ultimate Step-by-Step DIY Guide
Disclosure: By clicking on the product links in this article, My Pet World Store may receive a commission fee at no cost to you, the reader.
To sew a dog bed, start by measuring your pet from nose to tail and adding 10 inches to determine the fabric size. Cut two identical pieces of durable fabric, such as canvas or heavy fleece, place the right sides together, and sew around the edges while leaving a 6-inch gap. Flip the fabric right-side out, fill it with high-quality polyester fiberfill or memory foam, and topstitch the opening closed for a professional, durable finish.
Why Every Pet Owner Should Know How to Sew a Dog Bed
Crafting a home made dog bed is more than just a fun weekend project; it is a strategic way to ensure your pet’s comfort while saving money. Commercial high-end beds can be expensive, but when you learn how to sew a dog bed, you can choose premium materials that last much longer. By selecting your own dog bed sewing pattern, you can also customize the bed to fit specific corners of your home or match your interior decor perfectly.
Choosing the Right Dog Bed Material for Durability
The longevity of your diy dog bed depends entirely on the fabric you choose. Since dogs naturally scratch and nest before settling down, you need a dog bed material that can withstand wear and tear.
- Heavyweight Canvas: Ideal for large breeds and active chewers.
- Fleece or Flannel: Perfect for smaller pets who love to snuggle and stay warm.
- Denim: A sustainable option often repurposed from old jeans for a rugged look.
If your pet is prone to messes, we recommend using a water-resistant liner. Keeping the bed clean is also essential, so you might want to check out our guide on how to clean a dog bed to maintain your DIY masterpiece.
Step-by-Step Guide: Your First Dog Bed Sewing Pattern
- Preparation: Wash and dry your fabric first to prevent future shrinking.
- Cutting: Lay your fabric flat and cut two rectangles. For a medium dog, 30″ x 40″ is a standard size.
- Pinning: Secure the edges with pins, ensuring the “pretty” sides of the fabric are facing each other.
- Sewing: Use a heavy-duty needle and a straight stitch. Leave a gap on one of the shorter sides for the stuffing.
- Finishing: Turn it right-side out, stuff it firmly, and sew the final gap closed.
For those who want to skip the sewing machine entirely, a no sew dog bed made by tying fleece strips together is a great alternative, though it may not be as durable for heavy chewers.
Designing for Your Dog’s Sleeping Style
Before you start cutting your fabric, observe how your dog sleeps. This will determine the best shape for your diy dog bed:
- The Curler: If your dog sleeps in a tight ball, a round or “donut” shaped bed with raised edges provides the security they crave.
- The Sprawler: For dogs that stretch out, a large rectangular “mattress” style bed is best to prevent them from hanging off the edge.
- The Leaner: If your dog likes to rest their head on a pillow, consider adding “bolsters” (raised sides) to your sewing project.
While DIY is excellent for customization, if your dog has advanced orthopedic needs, you may want to compare your design against the best dog beds currently available to ensure they get the support they need.
Advanced Tips for Professional DIY Pet Beds
To take your home made dog bed to the next level, consider adding piping or decorative trim along the seams. This not only adds a professional touch but also reinforces the edges where dogs tend to chew. If you are using a thinner dog bed material, you can quilt the top layer with a thin layer of batting before assembly. This adds an extra layer of luxury and prevents the stuffing from shifting too much over time.
Conclusion: Creating the Perfect Rest for Your Pet
Mastering the art of sewing a pet bed allows you to provide a higher level of care for your dog. By choosing the right dog bed material and following a tailored dog bed sewing pattern, you create a high-value item that is both functional and personal. Whether you opt for a traditional stitched design or a quick no sew dog bed, the result is a cozy sanctuary your dog will love for years to come. Now that you have the skills, grab your fabric and start creating!
Frequently Asked Questions
What is the best thread to use for a dog bed?
Use a heavy-duty polyester thread. It is much stronger than standard cotton thread and will resist snapping when your dog moves or scratches at the bed.
How do I make a DIY dog bed cover removable?
Instead of sewing the final gap shut, install a long zipper or use heavy-duty Velcro strips. This allows you to take the cover off and throw it in the wash easily.
Can I use old pillows for stuffing?
Absolutely. Repurposing old bed pillows is a great way to make a home made dog bed eco-friendly. Just ensure the pillows are clean and free of clumps before inserting them.
How do I prevent the bed from sliding on hardwood floors?
You can sew a “non-slip” fabric to the bottom of the bed or apply small dots of puffy fabric paint or silicone caulk to the bottom surface to create grip.
What should I do if my dog is a heavy chewer?
If your dog destroys fabric, look for “ballistic nylon” or “cordura” fabrics. These are specifically designed to be tear-resistant and are the toughest dog bed material options available for DIYers.