
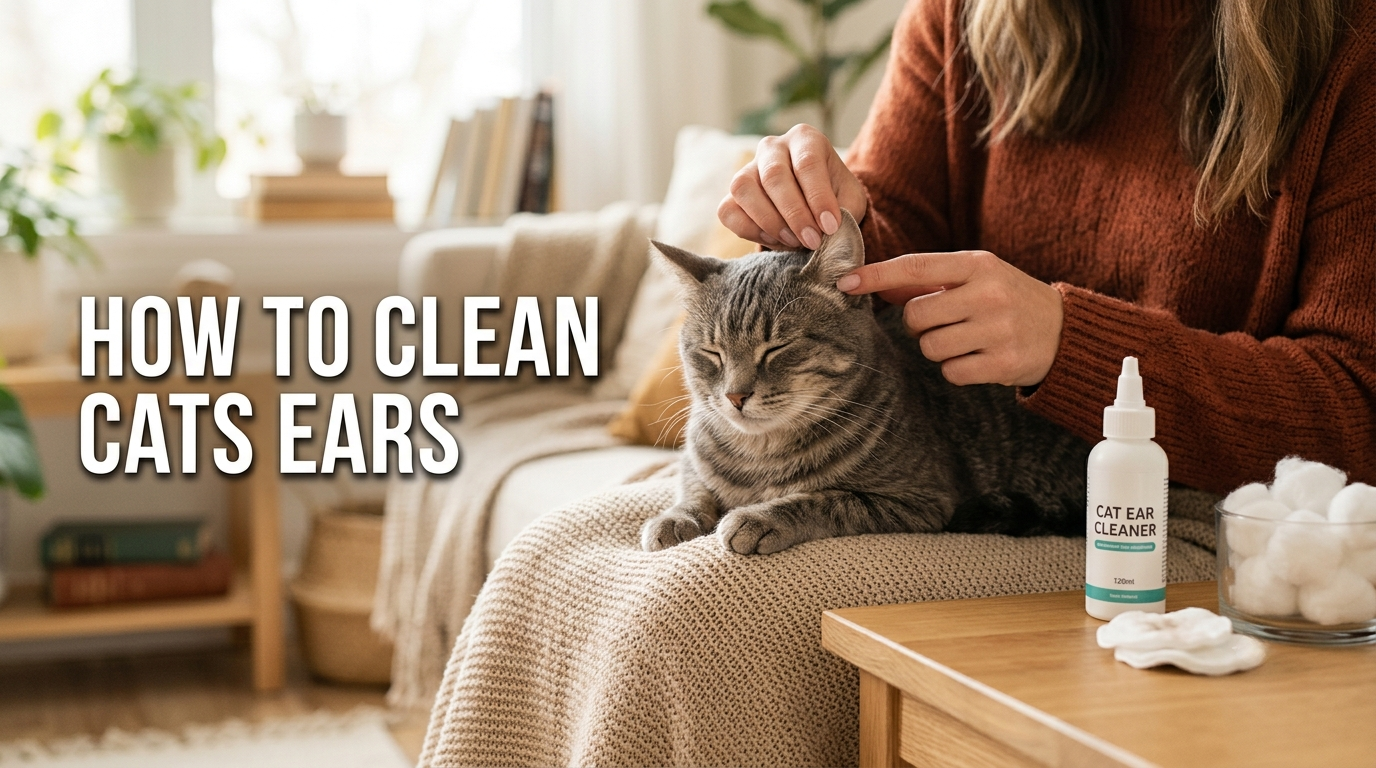
Knowing how to clean cats ears correctly is one of the most overlooked parts of cat care. Most cats do not need frequent ear cleaning, but when their ears show dark buildup, odor, or excessive scratching, cleaning becomes necessary. This guide covers every step you need: what supplies to use, how to do it safely, how often to clean, and the warning signs that mean it is time to visit your vet.
Should You Clean Your Cats Ears? Understanding When It Is Necessary
Not every cat needs regular ear cleaning. Healthy cats with clean, pale pink ears that do not smell and show no signs of irritation are usually fine without intervention. You should clean your cat’s ears only when you notice signs of buildup or discomfort.
Signs that your cat’s ears need attention:
- Dark brown or black waxy buildup inside the ear canal
- A mild but noticeable odor coming from the ears
- Your cat scratching at one or both ears more than usual
- Head shaking or tilting
- Visible debris or dirt near the ear opening
Signs that require a vet visit instead of home cleaning:
- Strong foul odor or discharge that is yellow, green, or bloody
- Visible swelling, redness, or extreme sensitivity when you touch the ear
- Intense scratching that causes broken skin or hair loss around the ear
- Loss of balance or sudden behavioral changes
If you suspect your cat has ear mites or an infection, do not attempt home cleaning first. These conditions need diagnosis and treatment from a vet. Cats with dirty ears from mites may also benefit from a proper flea collar for cats as part of a broader parasite prevention routine.
What You Need to Clean Your Cats Ears
Gathering the right supplies before you start makes the process faster and safer for your cat. Using the wrong products can cause irritation or push debris deeper into the ear canal.
Supplies you need:
- A veterinarian approved cat ear cleaning solution (not hydrogen peroxide, not rubbing alcohol, and not human ear drops)
- Cotton balls or gauze pads (not cotton swabs or Q tips)
- A soft towel or blanket to wrap your cat if needed
- Treats to reward your cat before and after
What to avoid:
- Cotton swabs or Q tips: inserting anything into the ear canal risks injury and can push wax deeper
- Hydrogen peroxide or alcohol based solutions: these are too harsh for cat ear tissue
- Human ear drops: formulations designed for humans are not safe for cats
- Homemade oil or vinegar remedies: these are not vet approved and can cause chemical irritation
If you are unsure which ear cleaner to use, ask your vet for a recommendation. Many clinics carry feline specific ear cleaning solutions that are gentle and pH balanced for cat ears.
How to Clean Cats Ears: A Step by Step Guide
Follow these steps carefully to clean your cat’s ears safely and effectively without causing stress or injury.
Step 1: Prepare Your Cat and Your Space
Choose a quiet, well lit room. Sit on the floor or a stable surface and place your cat in your lap facing away from you. If your cat is squirmy, wrap them gently in a towel with only their head exposed. Have your cleaning solution and cotton balls within easy reach.
Step 2: Inspect the Ear Before Cleaning
Gently fold the ear flap back and look inside. A healthy ear is pale pink, slightly waxy, and has no strong smell. If you see heavy black debris, thick discharge, or raw inflamed tissue, stop and contact your vet rather than proceeding with home cleaning.
Step 3: Apply the Ear Cleaning Solution
Hold the ear flap up gently to straighten the ear canal. Place the tip of the cleaning solution bottle just at the entrance of the ear canal without inserting it inside. Apply enough solution to lightly fill the ear canal according to your product instructions. Do not over fill.
Step 4: Massage the Base of the Ear
Hold the ear flap upright and use your fingers to gently massage the base of the ear at the bottom for about 20 to 30 seconds. You should hear a soft squishing sound. This is normal and helps the solution loosen debris inside the canal.
Step 5: Let Your Cat Shake Their Head
Release your cat and allow them to shake their head. This is a natural reflex and helps bring loosened debris up from the ear canal. Stand back to avoid getting cleaning solution on your clothes.
Step 6: Wipe the Outer Ear
Take a clean cotton ball or gauze pad and gently wipe the inner folds of the outer ear and the visible entrance to the ear canal. Never push the cotton ball into the canal. Wipe away only what you can see easily. Use a fresh cotton ball for each pass and for each ear.
Step 7: Reward Your Cat
Give your cat a treat immediately after. Positive reinforcement after each cleaning session helps your cat associate the experience with something pleasant, which makes future sessions easier.
Step 8: Repeat on the Other Ear
Use a fresh set of supplies for the second ear to avoid transferring any debris or bacteria between ears.
How Often Should You Clean Your Cats Ears
Most cats with healthy ears need cleaning only occasionally, roughly once every few weeks or when you notice visible buildup. Cleaning too often can disrupt the natural environment of the ear and cause irritation.
General cleaning frequency guidelines:
- Cats with no symptoms or visible debris: clean only if buildup becomes visible, which may be every few weeks to months
- Cats prone to wax buildup or with floppy ear types: every two to four weeks as recommended by your vet
- Cats recovering from an ear mite treatment: follow your vet’s specific schedule
- Kittens: clean only if a vet recommends it, as kitten ears are especially sensitive
If you find yourself needing to clean more than once a week, something else may be going on. Talk to your vet, as chronic buildup can indicate an underlying condition like allergies, polyps, or ongoing mite exposure.
What to Do If Your Cat Resists Ear Cleaning
Many cats dislike having their ears handled, especially if they have never been accustomed to it from a young age. Forcing the process can cause your cat to associate ear touching with fear or pain.
Tips for cats that resist:
- Start by touching and handling the ear area for short periods over several days without any cleaning
- Use high value treats during and immediately after each session
- Keep sessions short at first, cleaning just one ear at a time
- Use a towel wrap to gently restrain very squirmy cats without hurting them
- Ask a second person to help hold your cat calmly while you clean
If your cat becomes aggressive, hisses, or is clearly in pain when you touch the ears, do not force the cleaning. That reaction may indicate the ears are already painful or infected. A vet can clean the ears safely under controlled conditions.
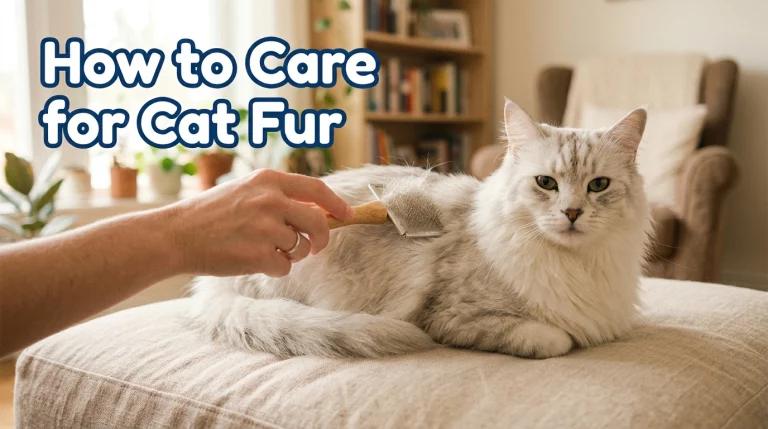
Cats that tolerate ear handling usually benefit from overall regular grooming. If you have a long haired cat, learning about grooming tools for long haired cats can help you build a broader grooming routine your cat gradually accepts.
Can I Use Baby Wipes to Clean Cat Ears
No, baby wipes are not suitable for cleaning inside a cat’s ear canal. They may be used very gently on the outer visible part of the ear flap only, not inside the canal.
Most baby wipes contain fragrances, preservatives, or moisturizing agents that are not safe for cat ear tissue. Even unscented wipes may contain ingredients that irritate the sensitive lining of the ear canal. For any cleaning inside or at the entrance of the canal, always use a product specifically made for cat ear hygiene.
What to Look For in a Cat Ear Cleaning Solution
If you are purchasing a cat ear cleaner for the first time, here are the key factors to consider:
- Vet formulated or vet recommended: look for products developed or endorsed by veterinary professionals
- Alcohol free and non irritating: harsh ingredients like alcohol or hydrogen peroxide damage sensitive ear tissue
- Designed specifically for cats: avoid products made for dogs or humans, as pH levels and ingredient safety differ
- Easy to apply: a nozzle that allows controlled application without inserting deeply into the ear
- Odorless or lightly scented: strong fragrances can stress cats and irritate the ear
- Clear or light colored: transparent solutions make it easier to see if debris is coming out during cleaning
Keeping your cat’s overall health in check includes more than just ear hygiene. Reviewing the must haves checklist for cat owners can help you make sure you have all the basics covered for your cat’s wellbeing.
Frequently Asked Questions
What can I use to clean my cat’s ears at home?
Use a veterinarian approved cat ear cleaning solution applied to a cotton ball or gauze pad. Never use hydrogen peroxide, rubbing alcohol, baby wipes inside the canal, or human ear drops. Applying the solution directly into the canal opening and massaging the base loosens debris safely before you wipe the outer area clean.
How do you clean a cat’s ears step by step?
Hold your cat securely in your lap, fold back the ear flap, apply a vet approved cleaning solution to the canal entrance, massage the base of the ear for 20 to 30 seconds, allow your cat to shake their head, then gently wipe the outer canal and ear folds with a cotton ball. Repeat on the other ear with fresh supplies. Always give a treat after.
How often should I clean my cat’s ears?
Most cats only need ear cleaning when visible buildup appears, which could be every few weeks or less frequently for cats with naturally clean ears. Cats prone to wax accumulation or recovering from mite treatment may need cleaning every two to four weeks. Always follow your vet’s guidance for your specific cat.
What does unhealthy cat ear wax look like?
Healthy cat ear wax is light brown and minimal. Unhealthy wax may be very dark brown or black, dry and crumbly, wet and thick, or accompanied by a foul odor. Dark crumbly debris that returns quickly after cleaning is often a sign of ear mites. Thick wet buildup with a strong smell may indicate a bacterial or yeast infection that needs vet treatment.
Can I use human ear cleaner on my cat?
No. Human ear cleaners are formulated for human ear anatomy and pH levels, which differ from cats. Using human products in a cat’s ears can cause irritation, disrupt the natural ear environment, and potentially cause chemical damage. Always use a product labeled specifically for cats.